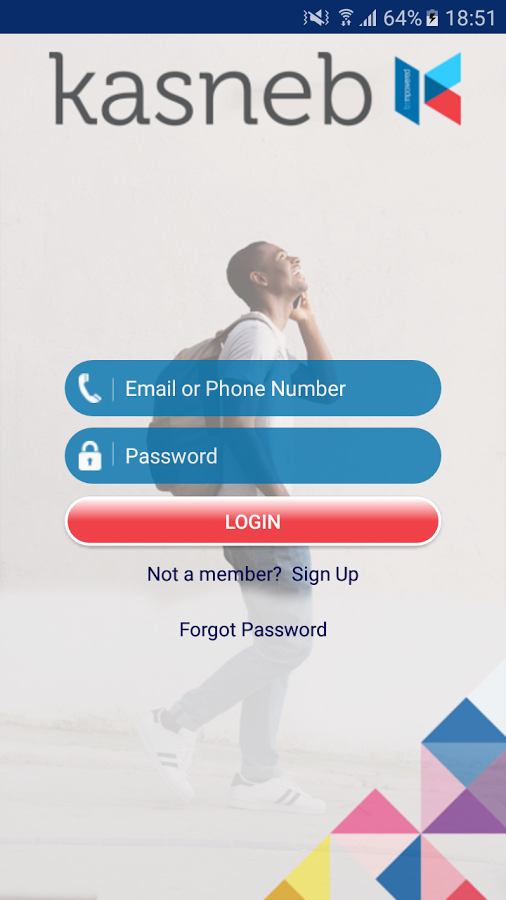
You can now register with KASNEB as their studennt and start taking their exams without going to their offices in Nairobi or going to college for registration. all you need is a smart phone or a computer and internet connection. The following are the steps to be followed.
Step 1: Sign up on e-kasneb mobile app for existing and new student (first time user of the app only)
1. Search for e-kasneb application on the Google play store and install on your phone.
2. (a) Open the e-kasneb app to sign up.
(b) DO NOT input your email details and password before you sign-up.
Click sign up icon and select either new student registration or student with kasneb registration number as appropriate.
3. Fill in your bio data including email and password.
4. Agree to kasneb code of ethics to complete the process and click the sign-up icon (proceed to item 5 if the account activation delays or hangs more than 20 seconds). You will receive your kasneb wallet pin via sms (for example 1234).
(i) Await receipt of kasneb wallet pin via sms text (this may take a few seconds).
(ii) If the wallet pin is not received within 60 seconds create your wallet pin dialling *805#
(iii) To change/reset your wallet pin dial *805# Select my account and go to pin reset. Use the validation code received as your current pin and create a new 4 digit pin (for example 1234).
Note: – If a wallet pin has been sent, you cannot create your own wallet pin as per (ii) above.
– You cannot be issued with a new wallet pin if you have an existing wallet such as eJijiPay or nHiF.
5. Log in using the email address and password as per your bio-data details during sign up.
6. After log-in you will be required to attach your identification document (such as National ID/Passport/Birth certificate) and a passport photo (you can download or take a snap shot and attach).
7. Password reset – in case you have forgotten your e-kasneb password (created under 3 above) click on forgot password under on the log in screen. A sms text will be sent to your phone with a reset token to facilitate password change.
Step 2: Choosing the service required
a) New student registration
Under registration icon
-
- Select exam type – Professional, Diploma or Certificate.
- Select examination (such as CPA, CS,… or ATD, DICT…)
- Attach certified copies of your certificates.
- Note: you can take a snap shot of the documents and attach.
- Click next and fill in the required information in order to generate an invoice.
- Proceed to pay as per step 3.
- To access your registration number
- Wait for verification of your registration application. (This process takes a short while during working days (Monday to Friday).
- Wait for a sms prompt for registration status or
- Click the red button at the top left hand side of your home screen to access the profile icon in order to view your registration
- To access the syllabus, go to resources icon on the home screen and click on syllabus to download (Note: Accessible using pdf reader app).
Note: This step must be completed before seeking exemption or booking for examination.
b) Exemption
Under exemption icon
1. Choose kasneb graduate if you have completed another examination offered kasneb
or
others if you have a degree or KNEC/KIM/KSL diploma qualification.
2. (i) For kasneb professional/diploma graduates, the exemptions will be populated automatically – therefore, save exemptions and generate an invoice.
ii) For others – select a degree or diploma as
-
- Indicate the name of the institution and degree/diploma course taken.
- Save the exemptions which will populate automatically.
- Attach certified copies of your transcript(s) and certificate.
- Upload to generate an invoice and proceed to pay as per step 3.
Note: This step must be completed before booking for examination
c) Examination booking and annual registration fee
Under examination icon
1. (a) Choose examination sitting (May or November):
(b) The examination for the level or part will pop up already ticked.
Note: For a student sitting for professional examination, the lower section in the part is already pre-ticked (that is, section 1 in part I or section 3 in part II and section 5 in part III).
2. Choose the other section in the part if you wish to combine both sections.
3. Click next to generate an invoice.
4. Proceed to pay as per step 3.
5.(a) Examination booking
- After payment a prompt message will appear “proceed to book your exam centre”
- Click OK and choose the the zone depending on your geographical centre location.
- Choose your preferred examination centre.
(b) Examination booking – after exiting the examination booking
In case the examination booking pop up does not appear or closes go to others menu on the home screen to access examination centres and proceed to book as per 5 (a) above.
Note: Only the centre that is available at the time of booking will populate. Centres which are already full will not appear.
6. To access timetable
Click on the resource menu and download the time table (Note: Accessible using pdf reader app).
Step 3 – To make payment using e-kasneb app.
Note: – This process is for topping up your e-kasneb wallet from mpesa account and is subject to Mpesa transactional charges.
– A student can use someone else cell phone to top up the e-kasneb wallet
- Go to mpesa menu and select lipa na mpesa option.
- Click on pay bill and enter the business No. 832222
- Indicate your mobile number as the Account No.
- Enter amount payable as per the invoice generated under step 2 above.
- Enter your mpesa pin number.
- You will receive an alert that money has been credited to kasneb student wallet.
- Proceed to complete the transaction under step 4.
Step 4 – To complete transaction
1. Go back to e-kasneb app.
2. Click the red button appearing at the top mainly on the left hand side (Note: on some phones it is on the right side)
Select invoice and click view option to get pay now.
Under pay now option:
- Choose kasneb e-wallet option
- A confirmation of the amount payable will pop-up.
- Choose Yes to pay.
- Enter your mobile number and your wallet pin.
- Pay as appropriate to complete the process.
Step 5 – To download receipt
Go to the red icon at the top left hand side of your home screen and click on transactions to download your receipt (Note: Accessible using pdf reader app).

